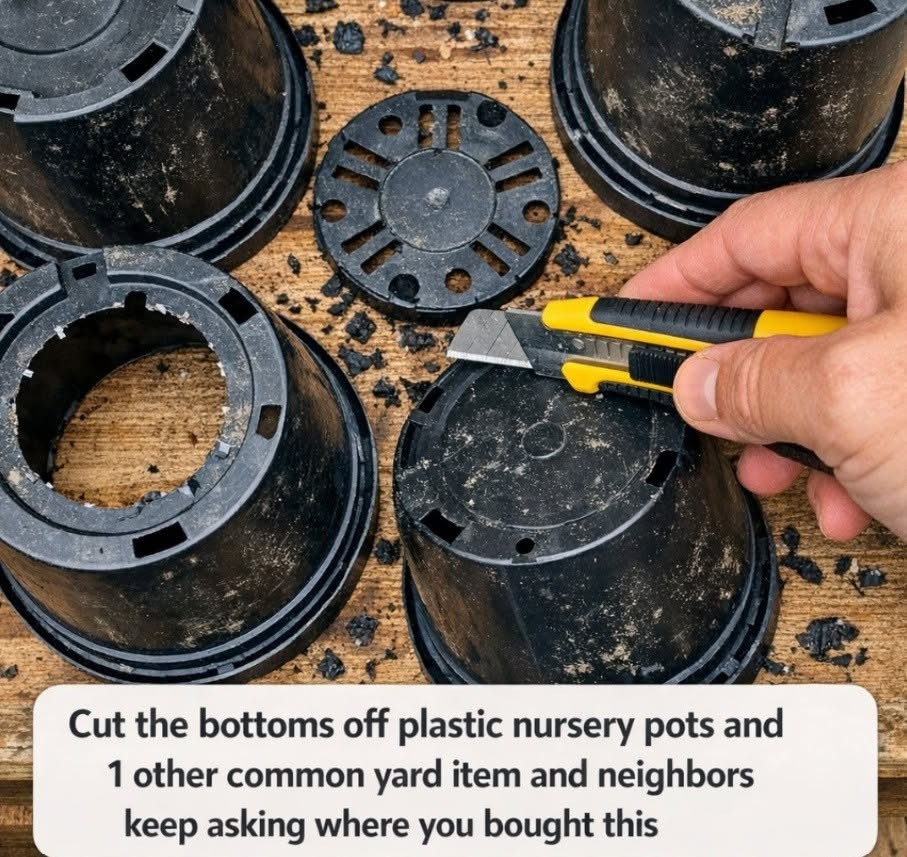
tomato cage, and set everything on a steady work surface. Matching pots make the finished dome look neater and stack more evenly.
2. Use the utility knife to carefully cut the bottom out of each nursery pot, following the inner edge where the base meets the sidewall. Trim away any rough plastic so each pot becomes an open-ended cylinder.
3. Snip off the top circular ring of the tomato cage with heavy scissors or pruning snips so you’re left with the tapered wire frame and its vertical supports. Remove any sharp clipped ends or bend them inward with pliers if needed for safety.
4. Turn the tomato cage upside down so the wider end sits at the top and the narrower end points down toward the seedling. This inverted shape gives you a stable frame and a smaller opening near the ground.
5. Slide one cut nursery pot over the top of the upside-down cage and let it rest on the wire ring. Add a second pot below it, overlapping by about 1 inch, so you start forming a tall protective shell.
6. Continue stacking the remaining cut pots downward, overlapping each one slightly to create a shingled column around